


Design the front cover of your paged HTML document
Better yet, design an awesome front cover.

🇪🇸 Este post está escrito en inglés y español. Puedes encontrar el texto en español más abajo.
🇺🇸 By now, you should feel like a full on tinkerer. We have taken the html_paged template to a whole new level in a few steps. You’ve learned to:
However, we have also broken an important template element: The front cover. Here, you’ll learn how to design an awesome front cover 👇.
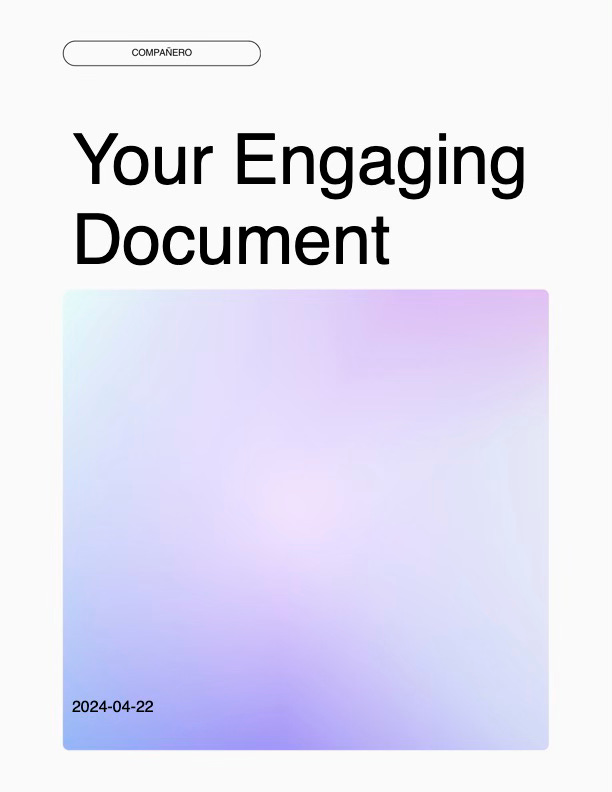
Front cover
To design the front cover of your document, we are going to use the same trick we used before: We’ll use a background image. Only this time, the background image will just be used on the first page of the document.
@page:first {
	background-image: url("images/compa_front.png");
	background-size: 100%;
	@bottom-left-corner {
		content: none;
		}
	}
In your CSS file, you will use the code above to define a background image for the first page (@page:first). We are also telling your machine that there can’t be any content in the bottom left corner (@bottom-left-corner {}).
🤔 Are you confused about what content I’m are referring to? No worries, this stuff is confusing to everyone.
In the previous step, we added page numbers, right? Well, these page numbers are content that applies to every single page in the document. So, to avoid having a page number on the front cover, we suppress the content in the definition of the first page.
Your front cover looks way better now. A few more improvements and you’ll have an awesome template document to share your research and findings with the world.
Edit the title
To improve the title design, we need to write CSS code that targets the title element in the HTML code behind the template. In this case, I’ll make it very large and obvious.
.title {
	font-family: Helvetica;
	font-size: 70pt;
	font-weight: lighter
	}
.title is the element in the HTML code that prints whatever you write as a title in the YAML header of your R Markdown. Play with the properties inside .title { } and let me know how it goes!
Change the position of elements in the front cover
At this point, you’ll want to start moving things around. For example, you may want to change the position of the date on the first page.
.date {
	font-family: Helvetica;
	font-size: 16pt;
	font-weight: lighter;
	position: absolute;
	top: 8.5in;
	}
Here, we are telling your machine that there’s an element named .date and we are defining its font family, size, and weight. We are also telling your machine that this element should be positioned 8.5 inches down from the top of the page.
💡 I hope that you are noticing a pattern by now. A lot of the CSS code you write can be reused. So, learning little by little how to define different properties is a great way to practice and build confidence to tackle bigger challenges
We have used the font properties before in the title, body, and headings. Now you can use the position property to define where other elements go. Think about plots, tables, images, or text boxes that you’d like to add to your document and where you’d like them to go.

🇪🇸 A estas alturas, deberías sentirte como un verdadero inventor. Hemos llevado la plantilla html_paged a un nivel completamente nuevo en unos pocos pasos. Has aprendido a:
Sin embargo, también hemos roto un elemento importante de la plantilla: La portada. Aquí aprenderás a diseñar una portada increíble 👇.
Portada
Para diseñar la portada de tu documento, vamos a utilizar el mismo truco que usamos antes: Usaremos una imagen de fondo. Solo que esta vez, la imagen de fondo solo se utilizará en la primera página del documento.
@page:first {
	background-image: url("images/compa_front.png");
	background-size: 100%;
	@bottom-left-corner {
		content: none;
		}
	}
En tu archivo CSS, usarás el código de arriba para definir una imagen de fondo para la primera página (@page:first). También estamos diciendo a tu máquina que no puede haber contenido en la esquina inferior izquierda (@bottom-left-corner {}).
🤔 ¿Estás confundido sobre a qué contenido me refiero? No te preocupes, esto es confuso para todos.
En el paso anterior, añadimos números de página, ¿verdad? Bueno, estos números de página son contenido que se aplica a cada página del documento. Por lo tanto, para evitar tener un número de página en la portada, suprimimos el contenido en la definición de la primera página.
Tu portada se ve mucho mejor ahora. Unos cuantos mejoras más y tendrás un documento de plantilla impresionante para compartir tus investigaciones y hallazgos con el mundo.
Edita el título
Para mejorar el diseño del título, necesitamos escribir código CSS que apunte al elemento del título en el código HTMLdetrás de la plantilla. En este caso, lo haré muy grande y obvio.
.title {
	font-family: Helvetica;
	font-size: 70pt;
	font-weight: lighter
	}
.title es el elemento en el código HTML que imprime lo que escribas como título en el encabezado YAML de tu R Markdown. ¡Juega con las propiedades dentro de .title { } y dime cómo te va!
Cambia la posición de los elementos en la portada
En este punto, querrás empezar a mover cosas. Por ejemplo, es posible que quieras cambiar la posición de la fecha en la primera página.
.date {
	font-family: Helvetica;
	font-size: 16pt;
	font-weight: lighter;
	position: absolute;
	top: 8.5in;
	}
Aquí, le estamos diciendo a tu máquina que hay un elemento llamado .date y estamos definiendo su familia de fuentes, tamaño y peso. También le decimos a tu máquina que este elemento debe estar posicionado a 8.5 pulgadas desde la parte superior de la página.
💡 Espero que ya estés notando un patrón. Mucho del código CSS que escribes puede ser reutilizado. Por lo tanto, aprender poco a poco a definir diferentes propiedades es una excelente forma de practicar y ganar confianza para enfrentar retos más grandes
Hemos usado las propiedades de fuente antes en el título, cuerpo y encabezados. Ahora puedes usar la propiedad position para definir dónde van otros elementos. Piensa en gráficos, tablas, imágenes o cuadros de texto que te gustaría añadir a tu documento y dónde te gustaría que fueran.